30 May DIY: Gift Wrapping Tutorial
![]() They say, “it’s the thought that counts” when it comes to the practice of exchanging gifts. This may be true but here at BashBLOK, it’s the gift wrapping that counts for us…well, the wrapping plus the thought. Since we are in the business of promoting gracious hosting and party planning perfection we think the art of gift giving, wrapping and all, should be nothing less that enchanting. You spend good time shopping and searching for a gift. Why not let the recipient of said gift spend more than 5 seconds taking tissue paper out of a bag? Gift bags and tissue paper are perfectly acceptable but when you can, kick your presentation skills up a few notches. This may seem like a practice that can get expensive quickly but you are in luck. Our example is cost effective and just a clever way of re-purposing ordinary tissue and wrapping paper. And, we always recycle both!
They say, “it’s the thought that counts” when it comes to the practice of exchanging gifts. This may be true but here at BashBLOK, it’s the gift wrapping that counts for us…well, the wrapping plus the thought. Since we are in the business of promoting gracious hosting and party planning perfection we think the art of gift giving, wrapping and all, should be nothing less that enchanting. You spend good time shopping and searching for a gift. Why not let the recipient of said gift spend more than 5 seconds taking tissue paper out of a bag? Gift bags and tissue paper are perfectly acceptable but when you can, kick your presentation skills up a few notches. This may seem like a practice that can get expensive quickly but you are in luck. Our example is cost effective and just a clever way of re-purposing ordinary tissue and wrapping paper. And, we always recycle both!
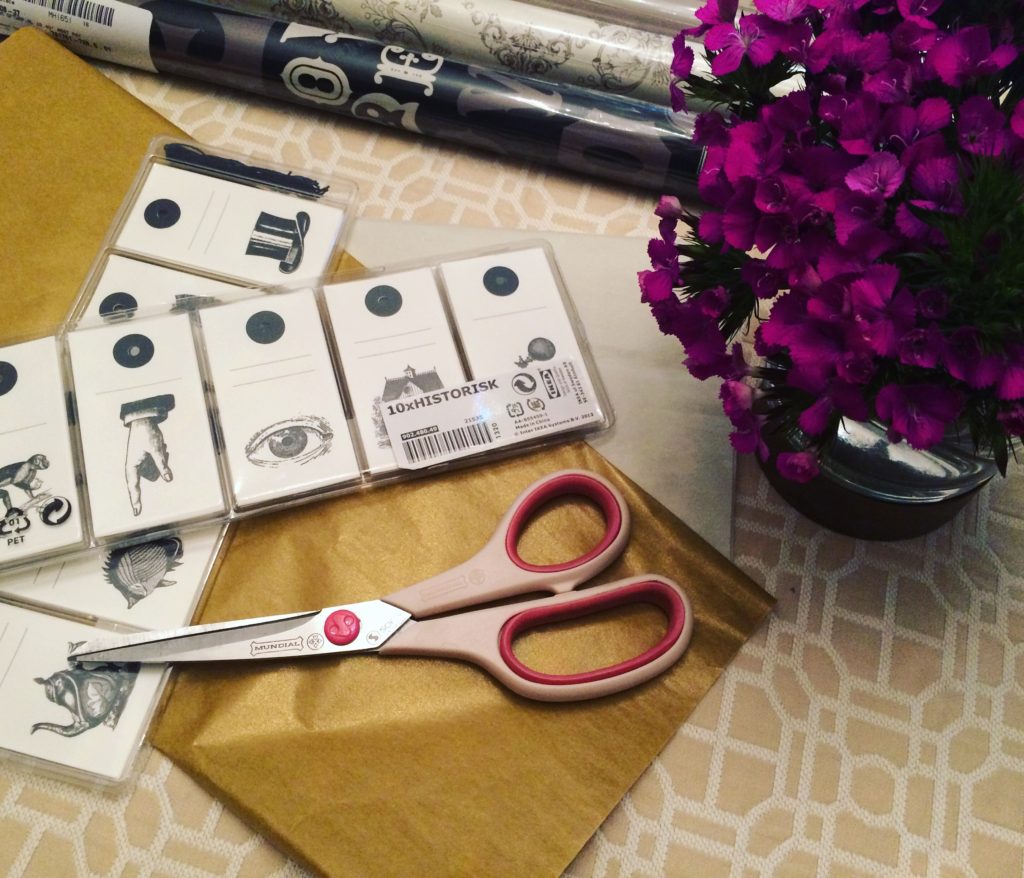
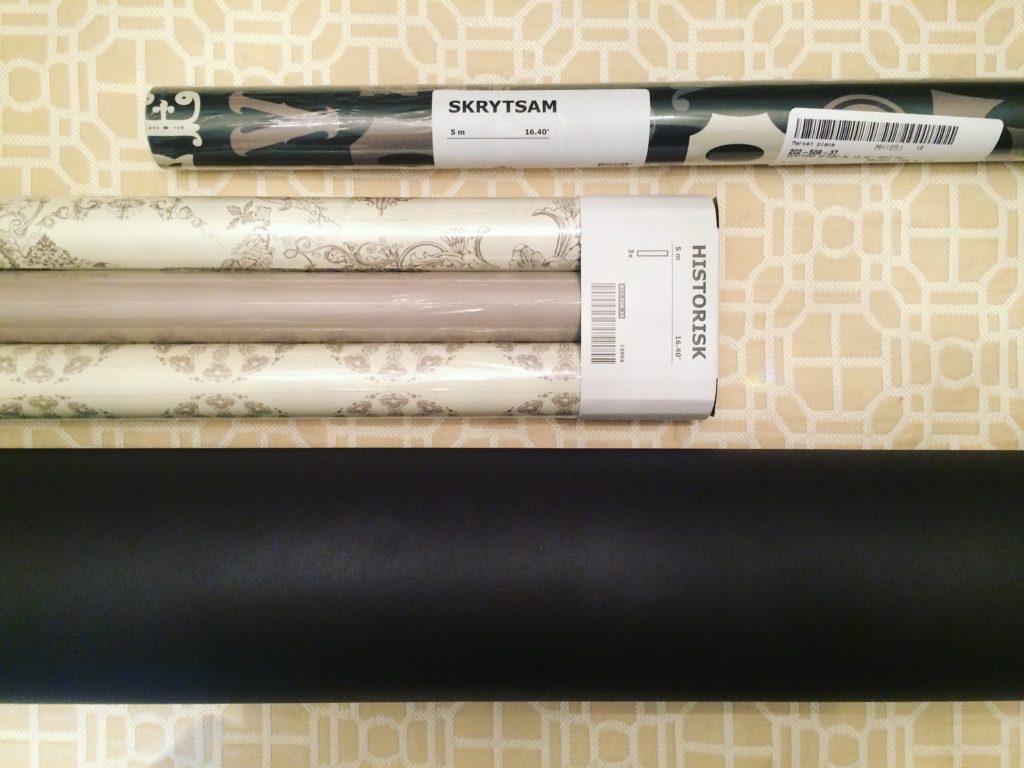
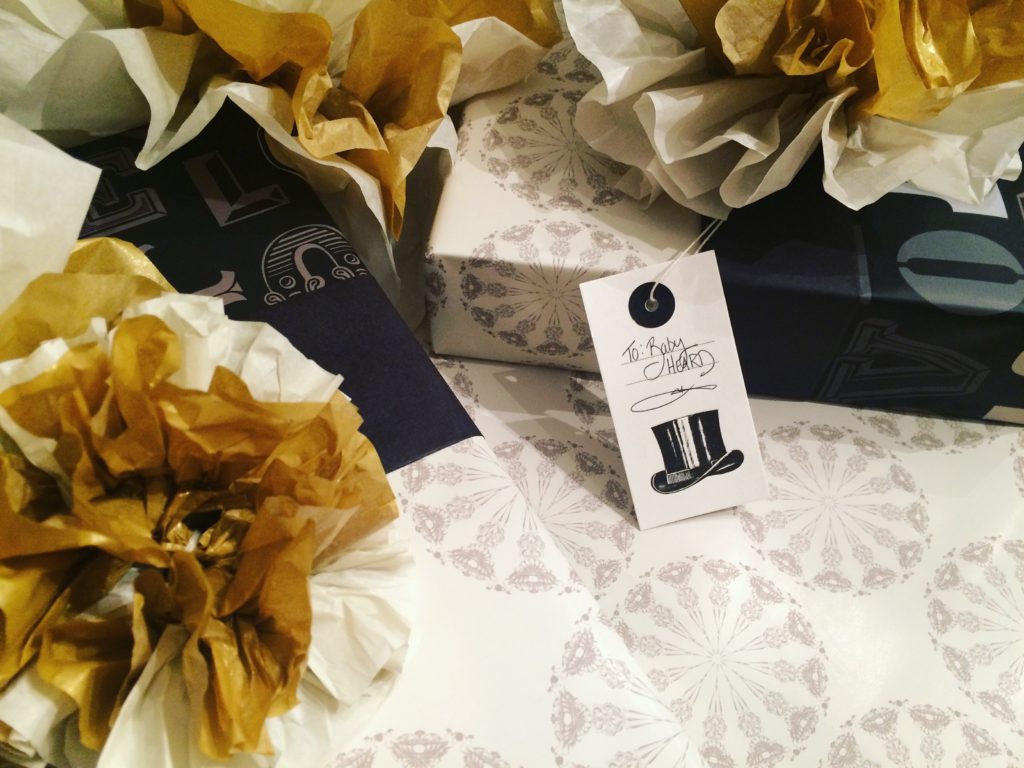
One of the happiest occasions of all is a baby shower and the perfect time to present a beautifully wrapped gift to a mama-to-be. For this tutorial we will be wrapping three gifts and using a mix-and-match tuxedo theme since this particular bun in the oven is a little fella. In our gift wrapping arsenal we have a gigantic, retail size roll of black kraft paper we purchased from Amazon. If there is one thing everyone should have in a wrapping paper stash it is a roll of either, black, white or brown kraft paper. This is such a versatile item and can be used for so more than gift wrapping…more on other uses later. In addition to the kraft paper we found these awesome neutral printed papers and whimsy gift tags at IKEA. Yes, IKEA! They don’t just sell reasonable priced Swedish furniture and home decor. Now, let’s begin!
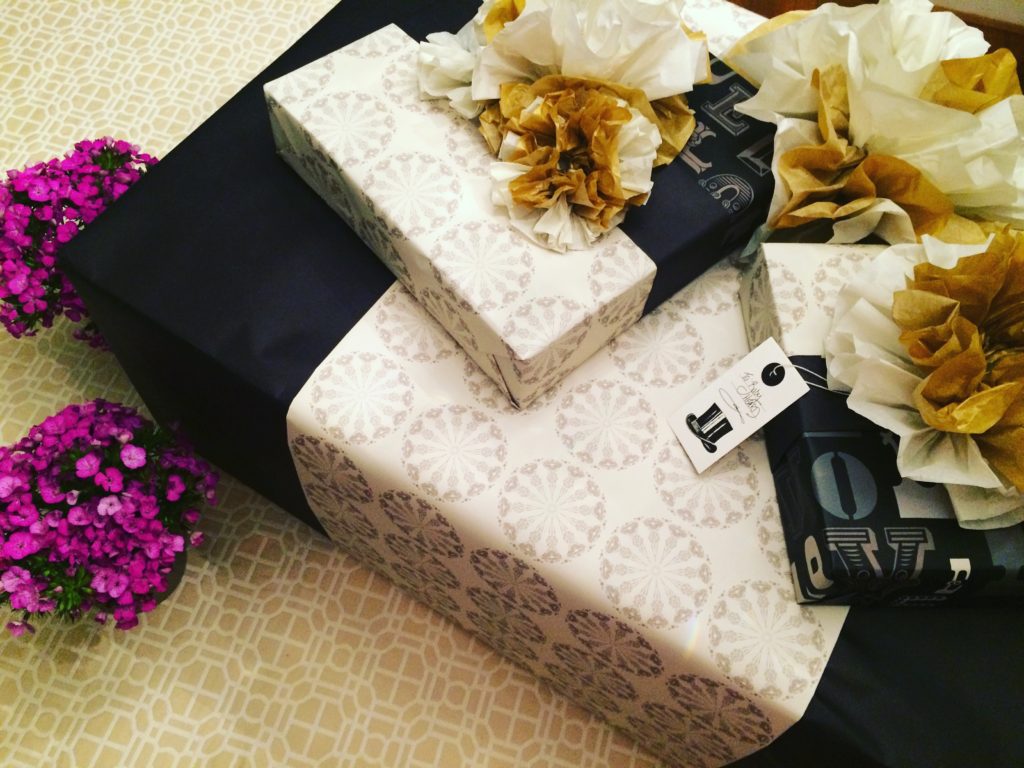
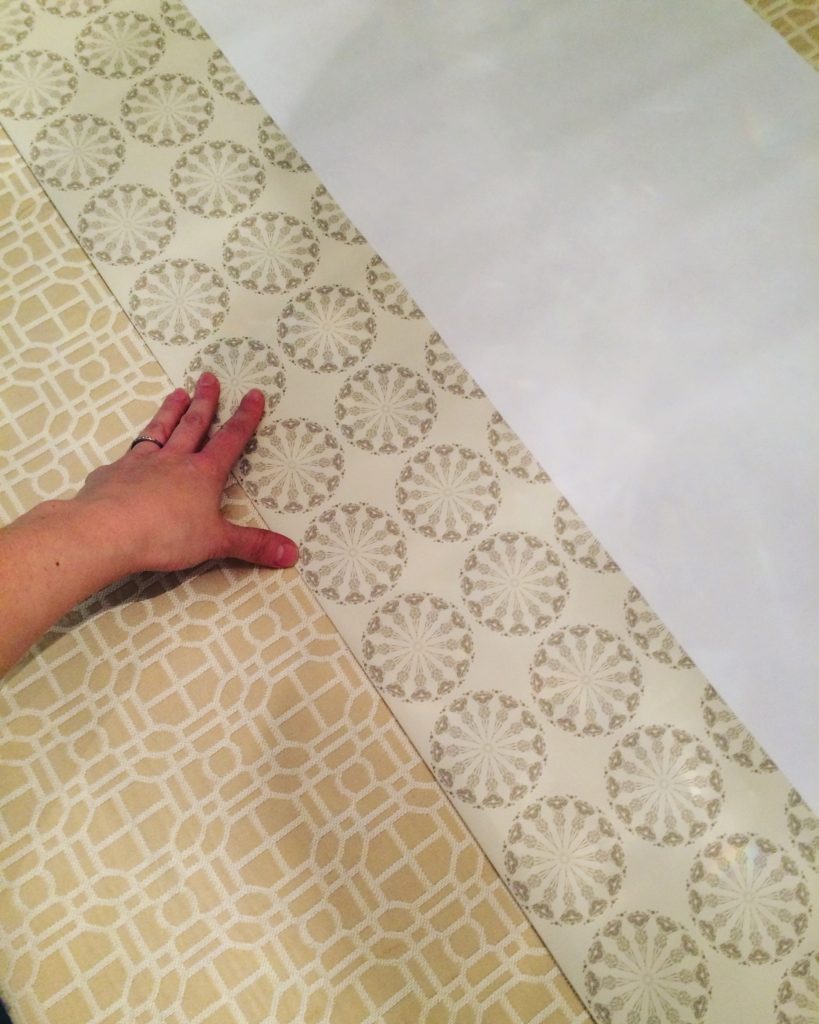
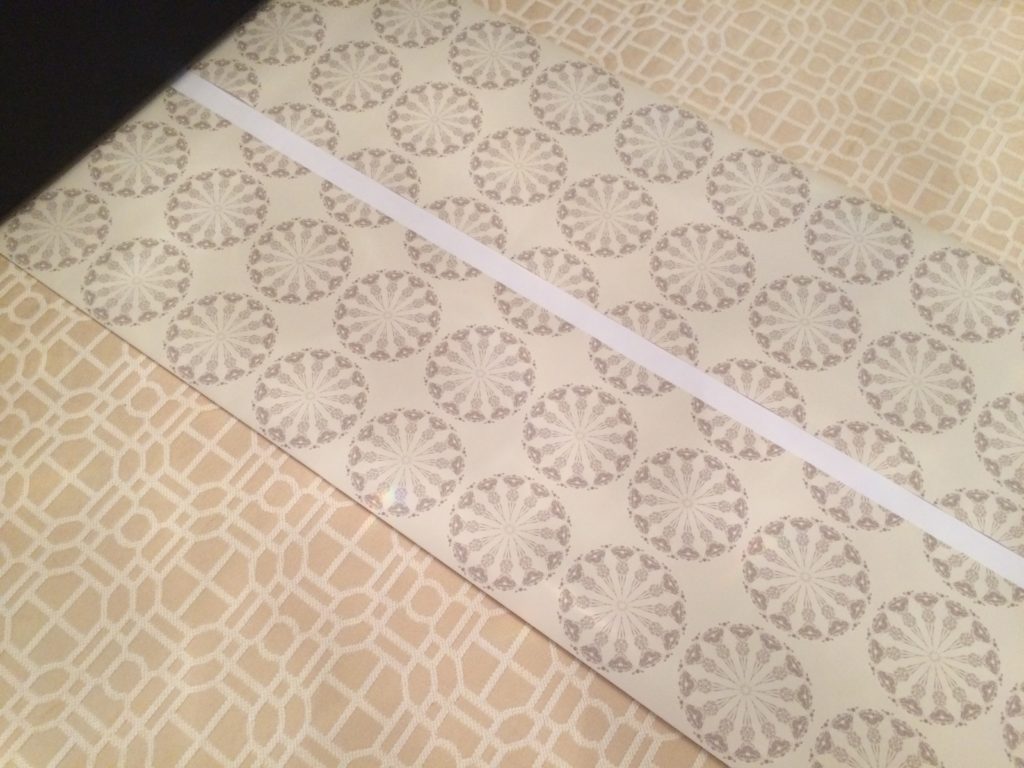
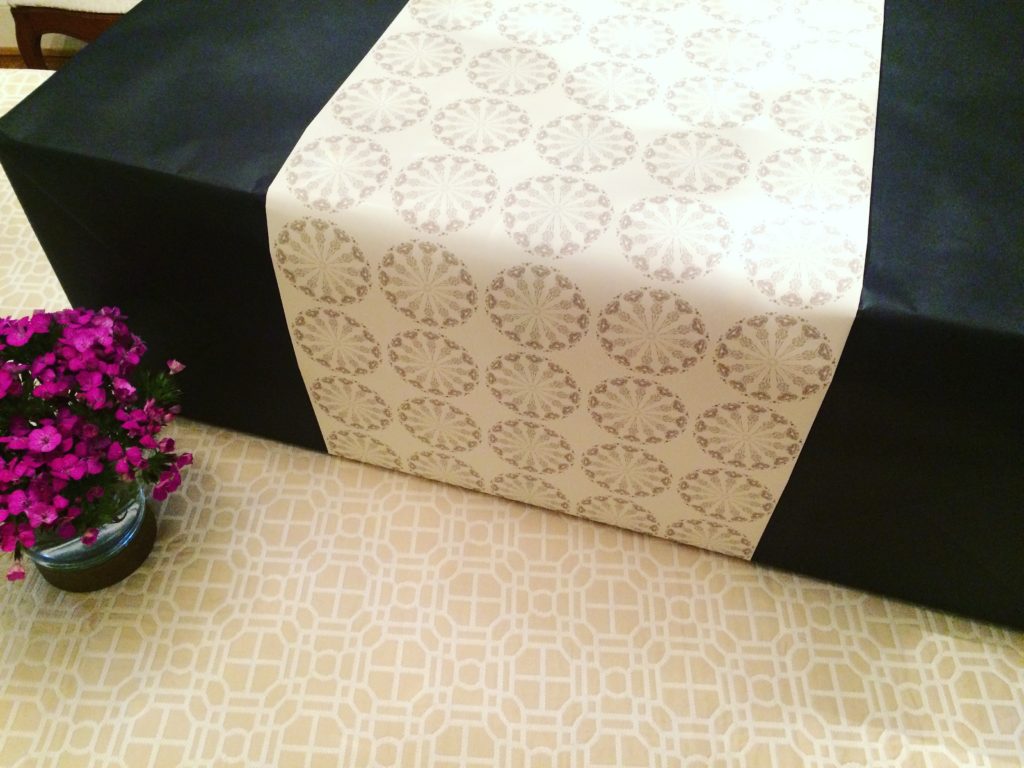
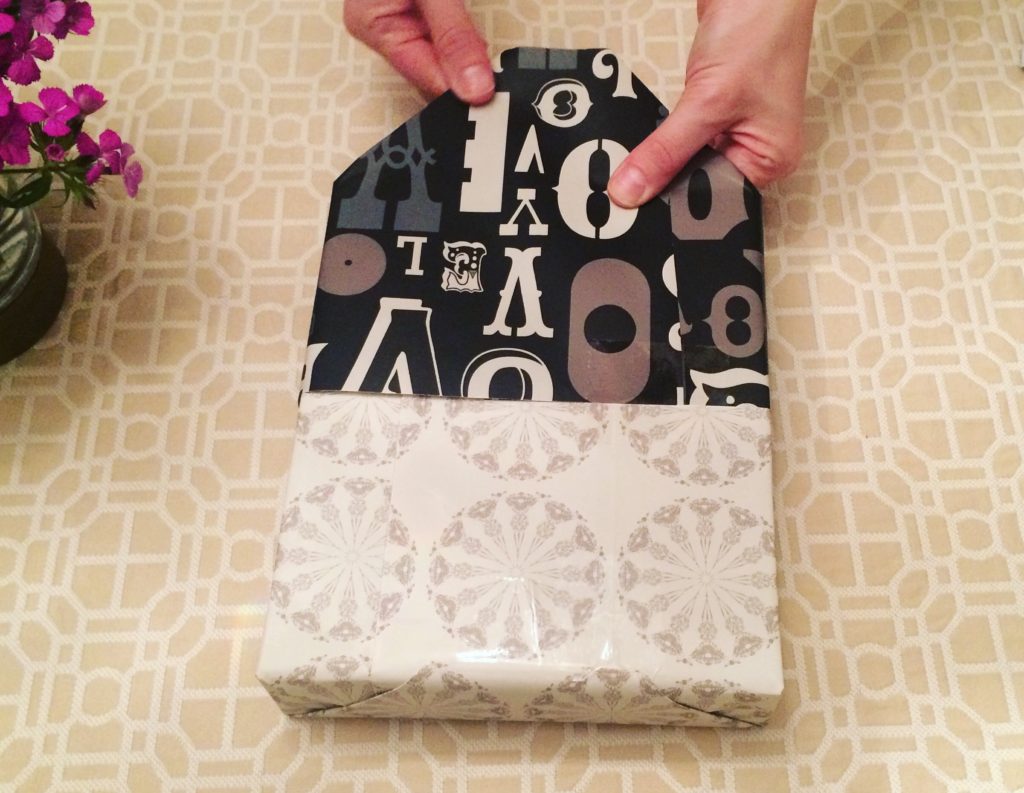
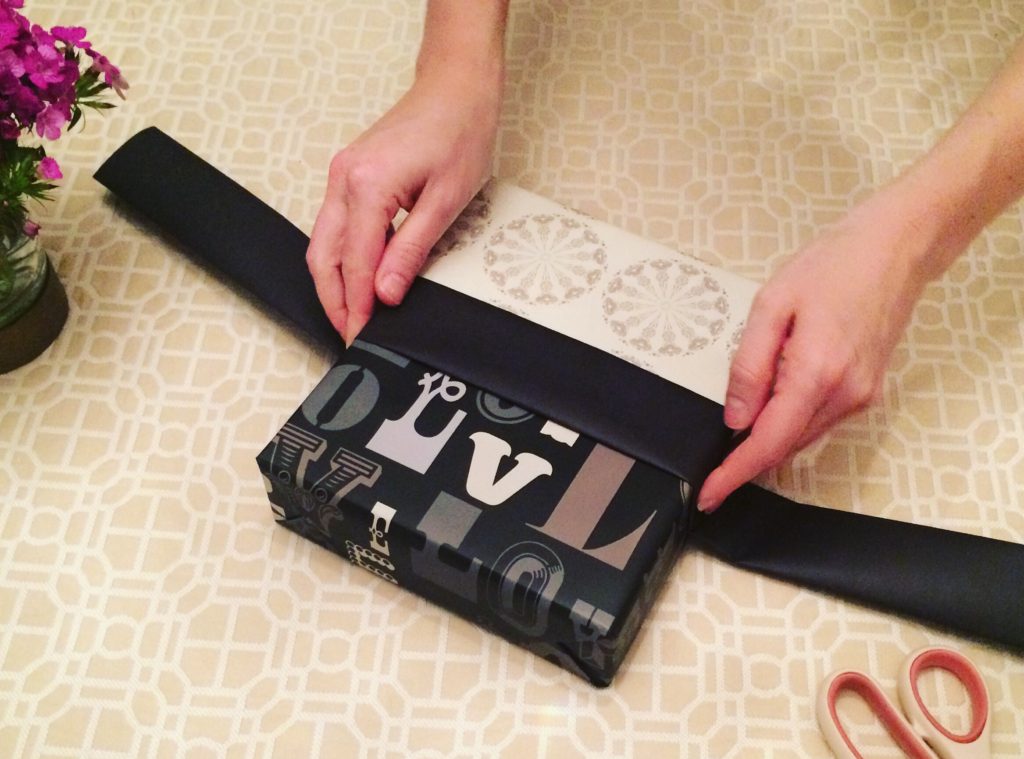
To start, we wrapped our largest item in the black craft paper. Another reason for a mega roll of solid craft paper? It is an inexpensive way to wrap large gifts instead of using pricey decorative paper. And, solid papers are usable for all seasons and it is easy to dress the paper up a bit. To break up this massive black box we are making what we call a wrapping belt. Simply measure around the portion of the box you wish to cover with the belt and cut a length of decorative paper accordingly. We used a full width of our decorative paper and folded the edges in about 6″ per side to ensure a smooth edge. Next, secure the decorative wrapping belt with tape on the underside of the box.
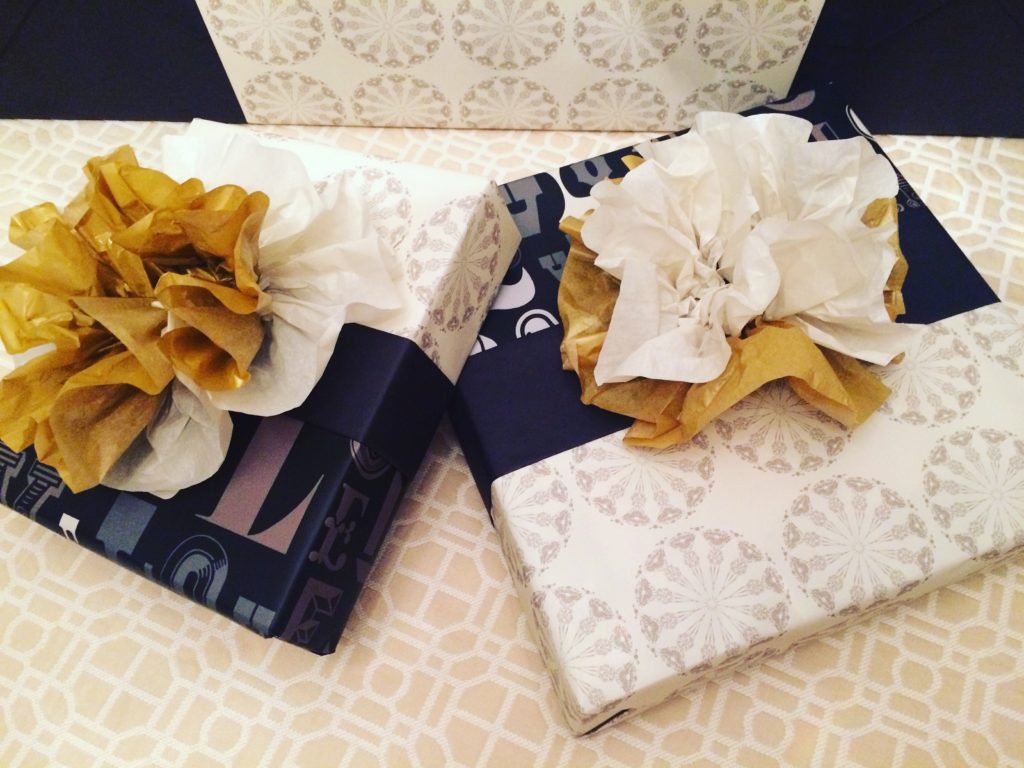
For our next two gift boxes we are using a total of three papers with a contrast wrapping technique. Sound difficult? It’s not. Wrap half your box in one paper and the other half in a coordinating paper. To tie these boxes in with our mega box we are again using our wrapping belts but this time making them with the black kraft paper.

Next, tissue paper bows! If you can fold paper (and follow our step-by-step guide) you can make these bows.
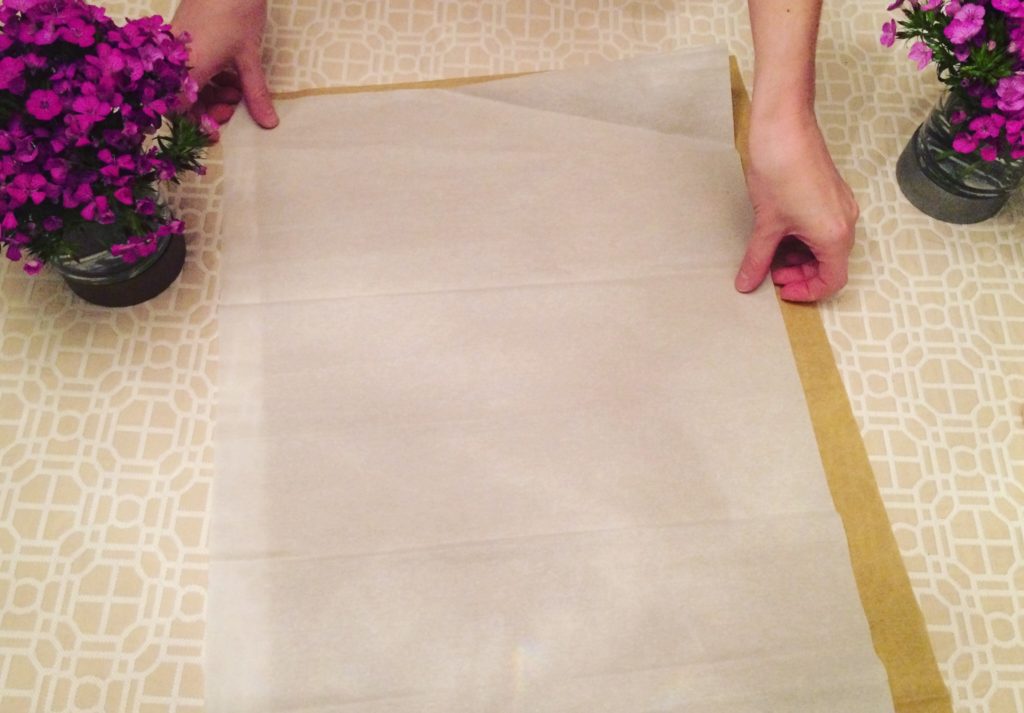
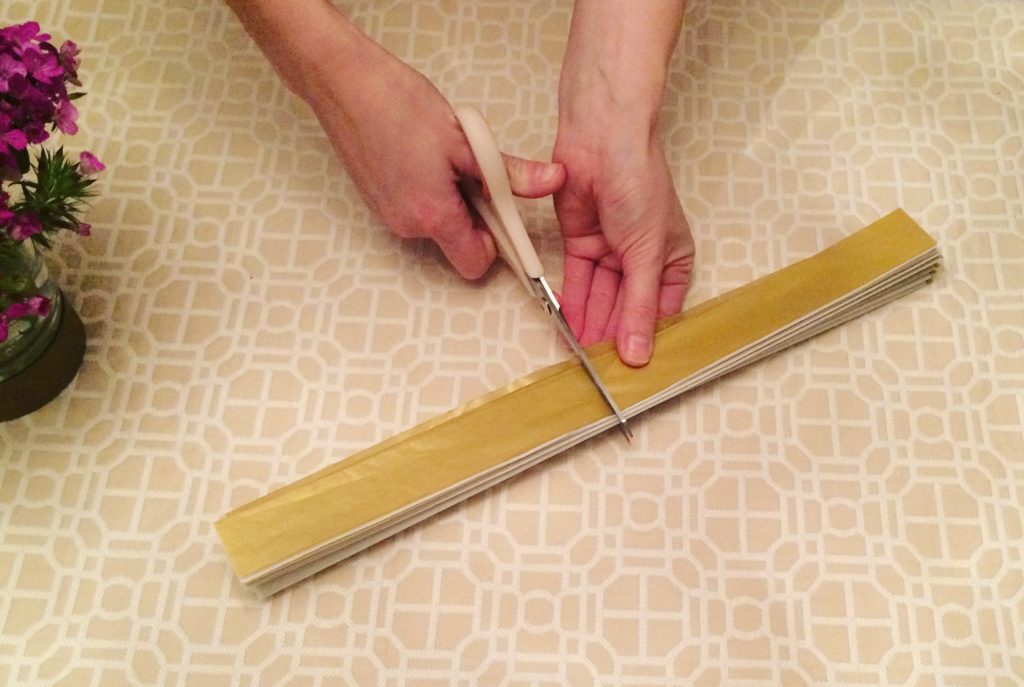
Step 1: Lay two pieces of tissue paper flat on your wrapping table. We like using contrasting papers and in this case, white and gold metallic paper are perfect for our tuxedo theme.
Step 2: Accordion pleat your paper back and forth along the shorter width of the paper. Our pleats are about an inch or so and we are cutting the width of our folded paper in half to make two bows that are about 6″ in diameter. Note: If you are making a large bow, say 10″ plus, we recommend using at least four sheets of tissue paper. Otherwise, you will have a puny bow and we much prefer them to be full and fluffy. 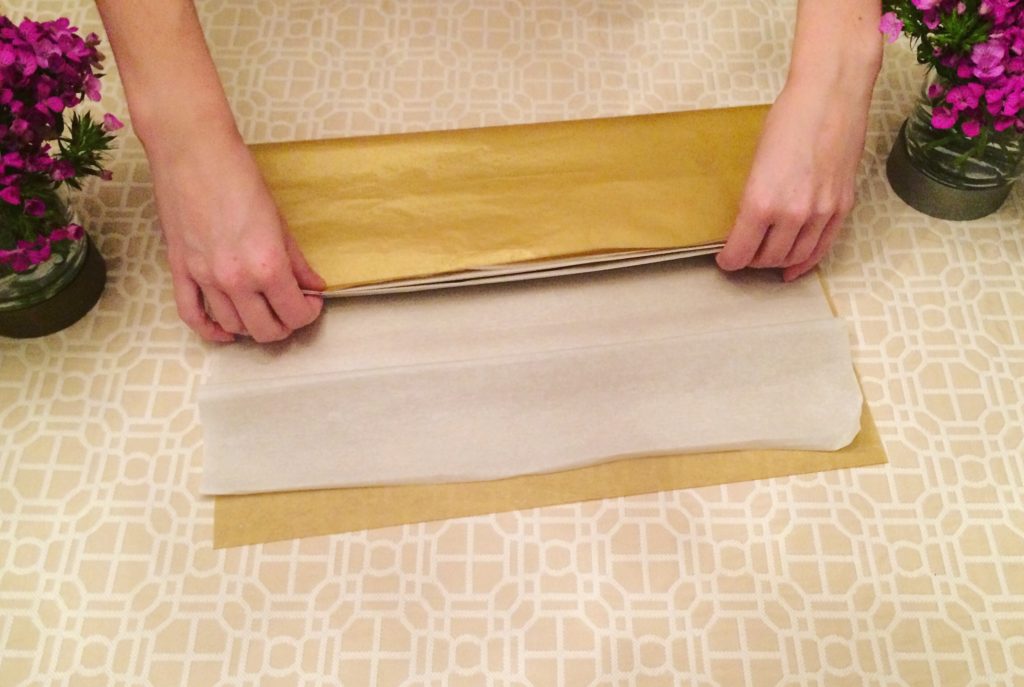
Step 3: Using a sturdy but not bulky piece of string, crochet string or baker’s twine, bunch the center of your bow and tie a knot. Be sure to leave a few inches of string…this is how you will secure your bow to your box.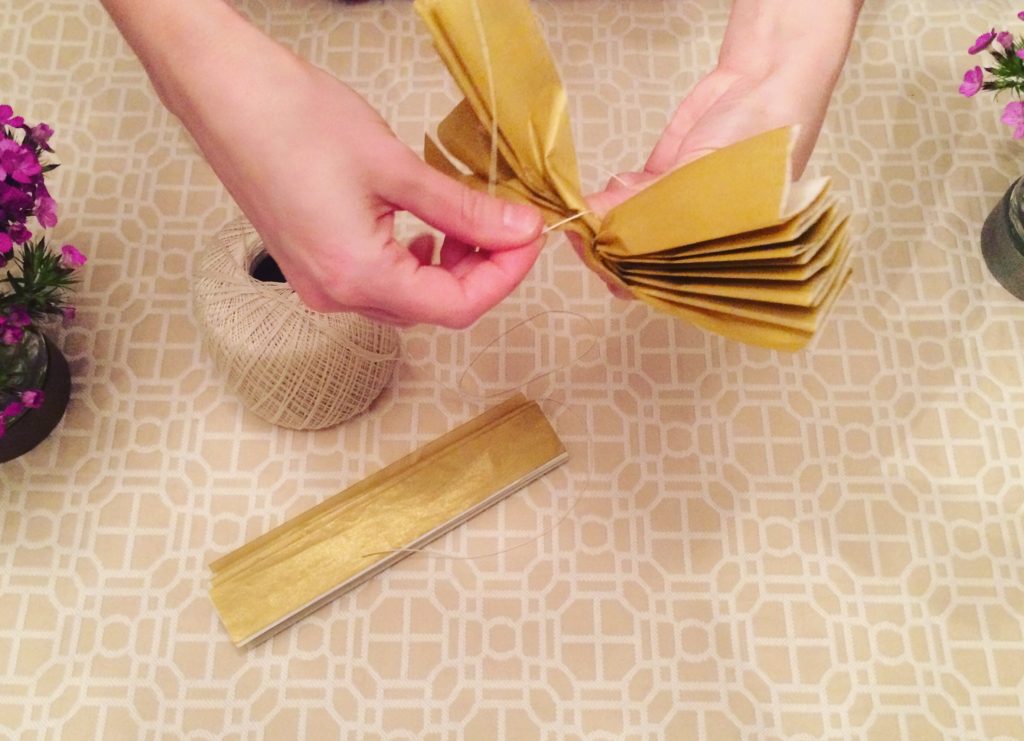
Step 4: Fan out each side of your bow and VERY carefully, separate the pieces of tissue paper.
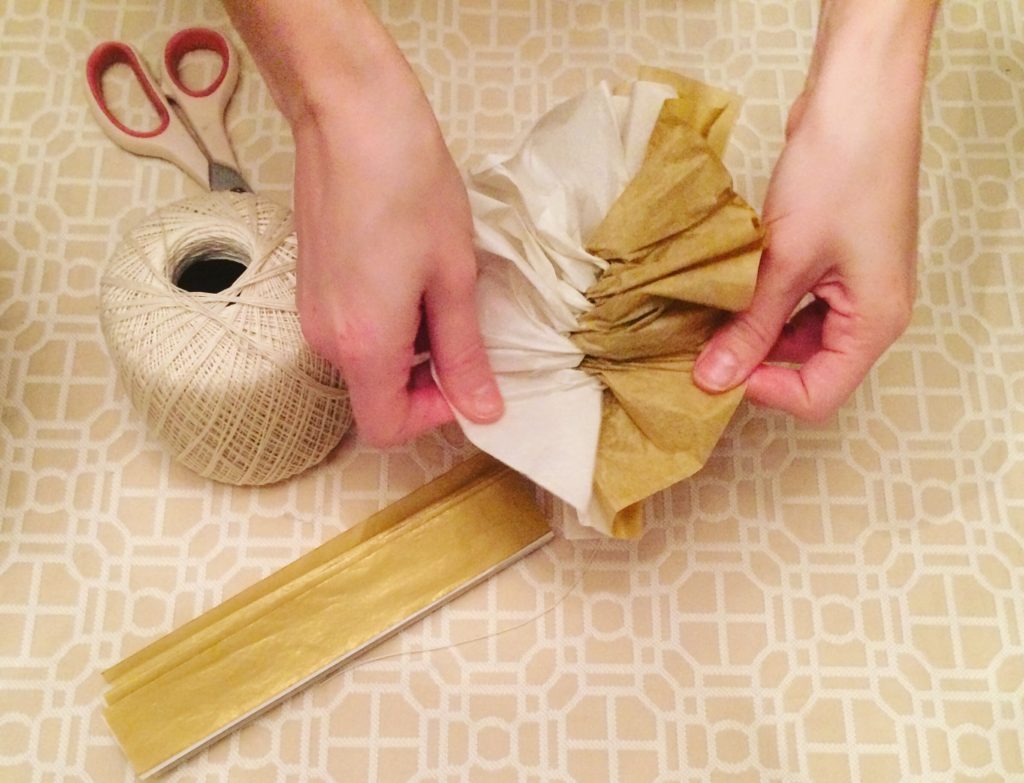
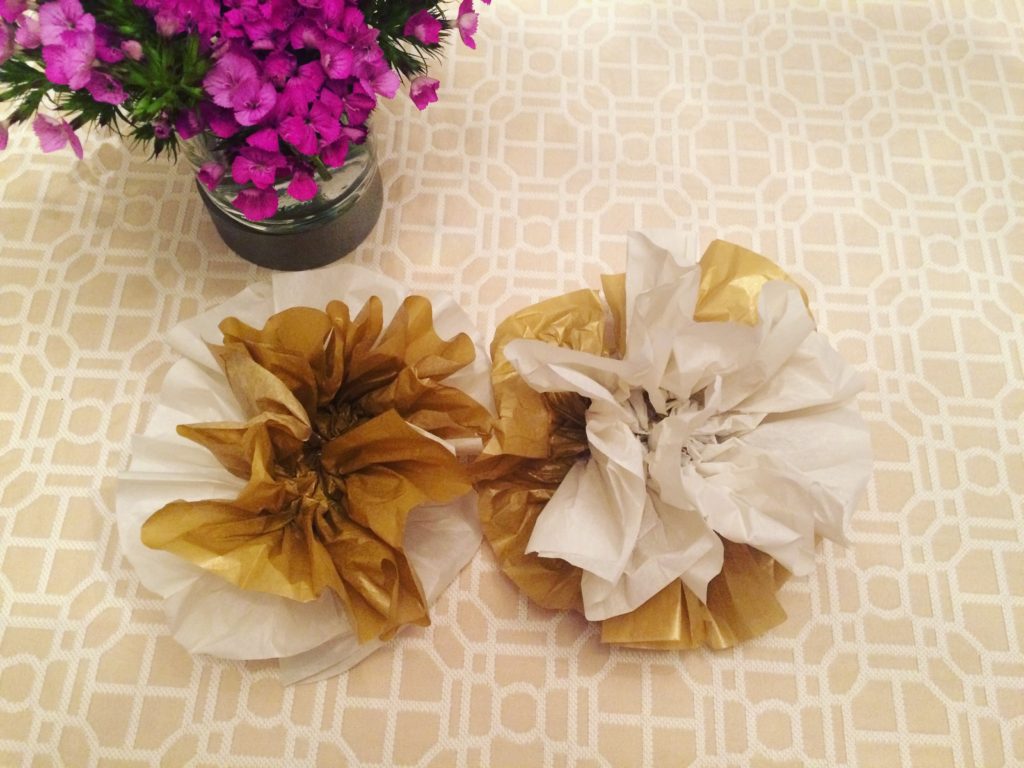
Step 5: Fluff and attach your bow to your gift boxes.
Our last step is attaching the smaller gifts to the mega box. There are several ways to do this but we like them the be on a slight angle and secured with transfer tape. This is basically super strong and sticky double sided tape. If you are someone who enjoys crafting transfer tape and the appropriate dispenser may be worth the investment. Our final touch is attaching our top hat tag and voila! We now have a beautifully wrapped gift to present to a very special friend of team BashBLOK. Happy Wrapping!!