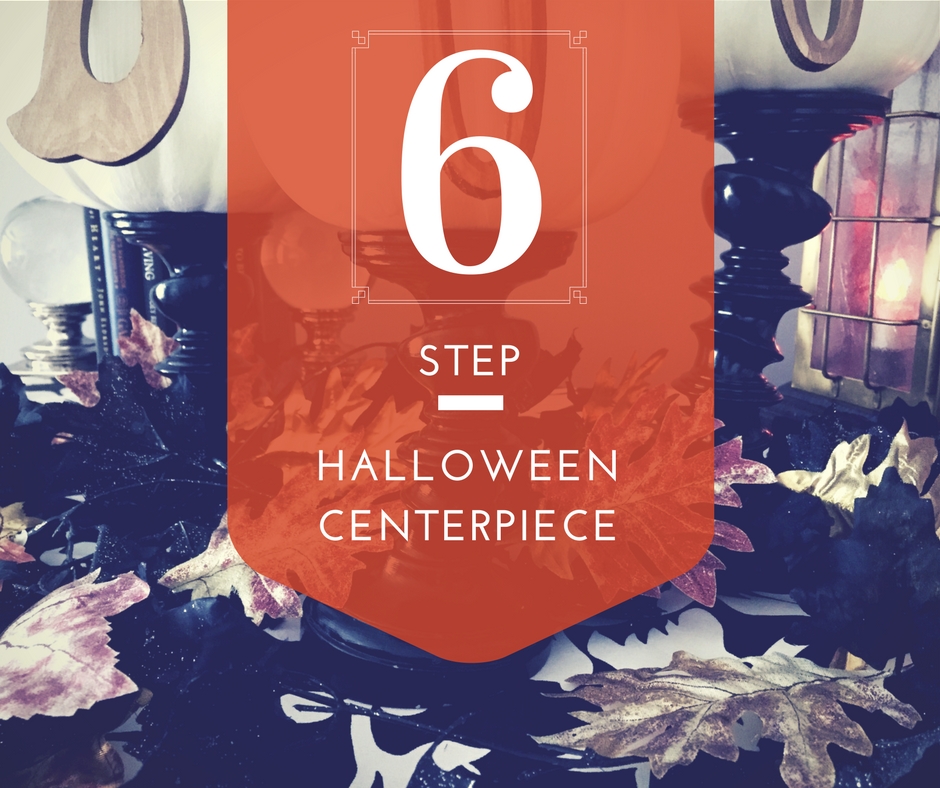
22 Sep 6 Step Halloween Centerpiece
It’s Fall, our favorite time of year! Even more of a favorite for team BashBLOK is Halloween. This spooky holiday allows our DIY team to get super crafty, creative and lends the opportunity to use glow-in-the-dark paint. To get ready for our upcoming ‘All Hallow’s Eve’ Bash we have prepared a very quick and easy pumpkin centerpiece. The majority of these items for this craft were purchased at Michael’s for under $50 with coupons and fall decor promotions. Can’t beat that! Follow step-by-step and learn how to recreate this pumpkin display for your next Spooky Bash!

Supplies Needed:
3 – White Pumpkins – One 9″ and Two 6.5″. Available at Michael’s.
3 – Black Pillar Candle Holders – We used two 6.5″ and one 9″ of the “wibbley wobbley” designed pillar holders which vary in availability from store to store. A similar and usable all year round design can be found at World Market.
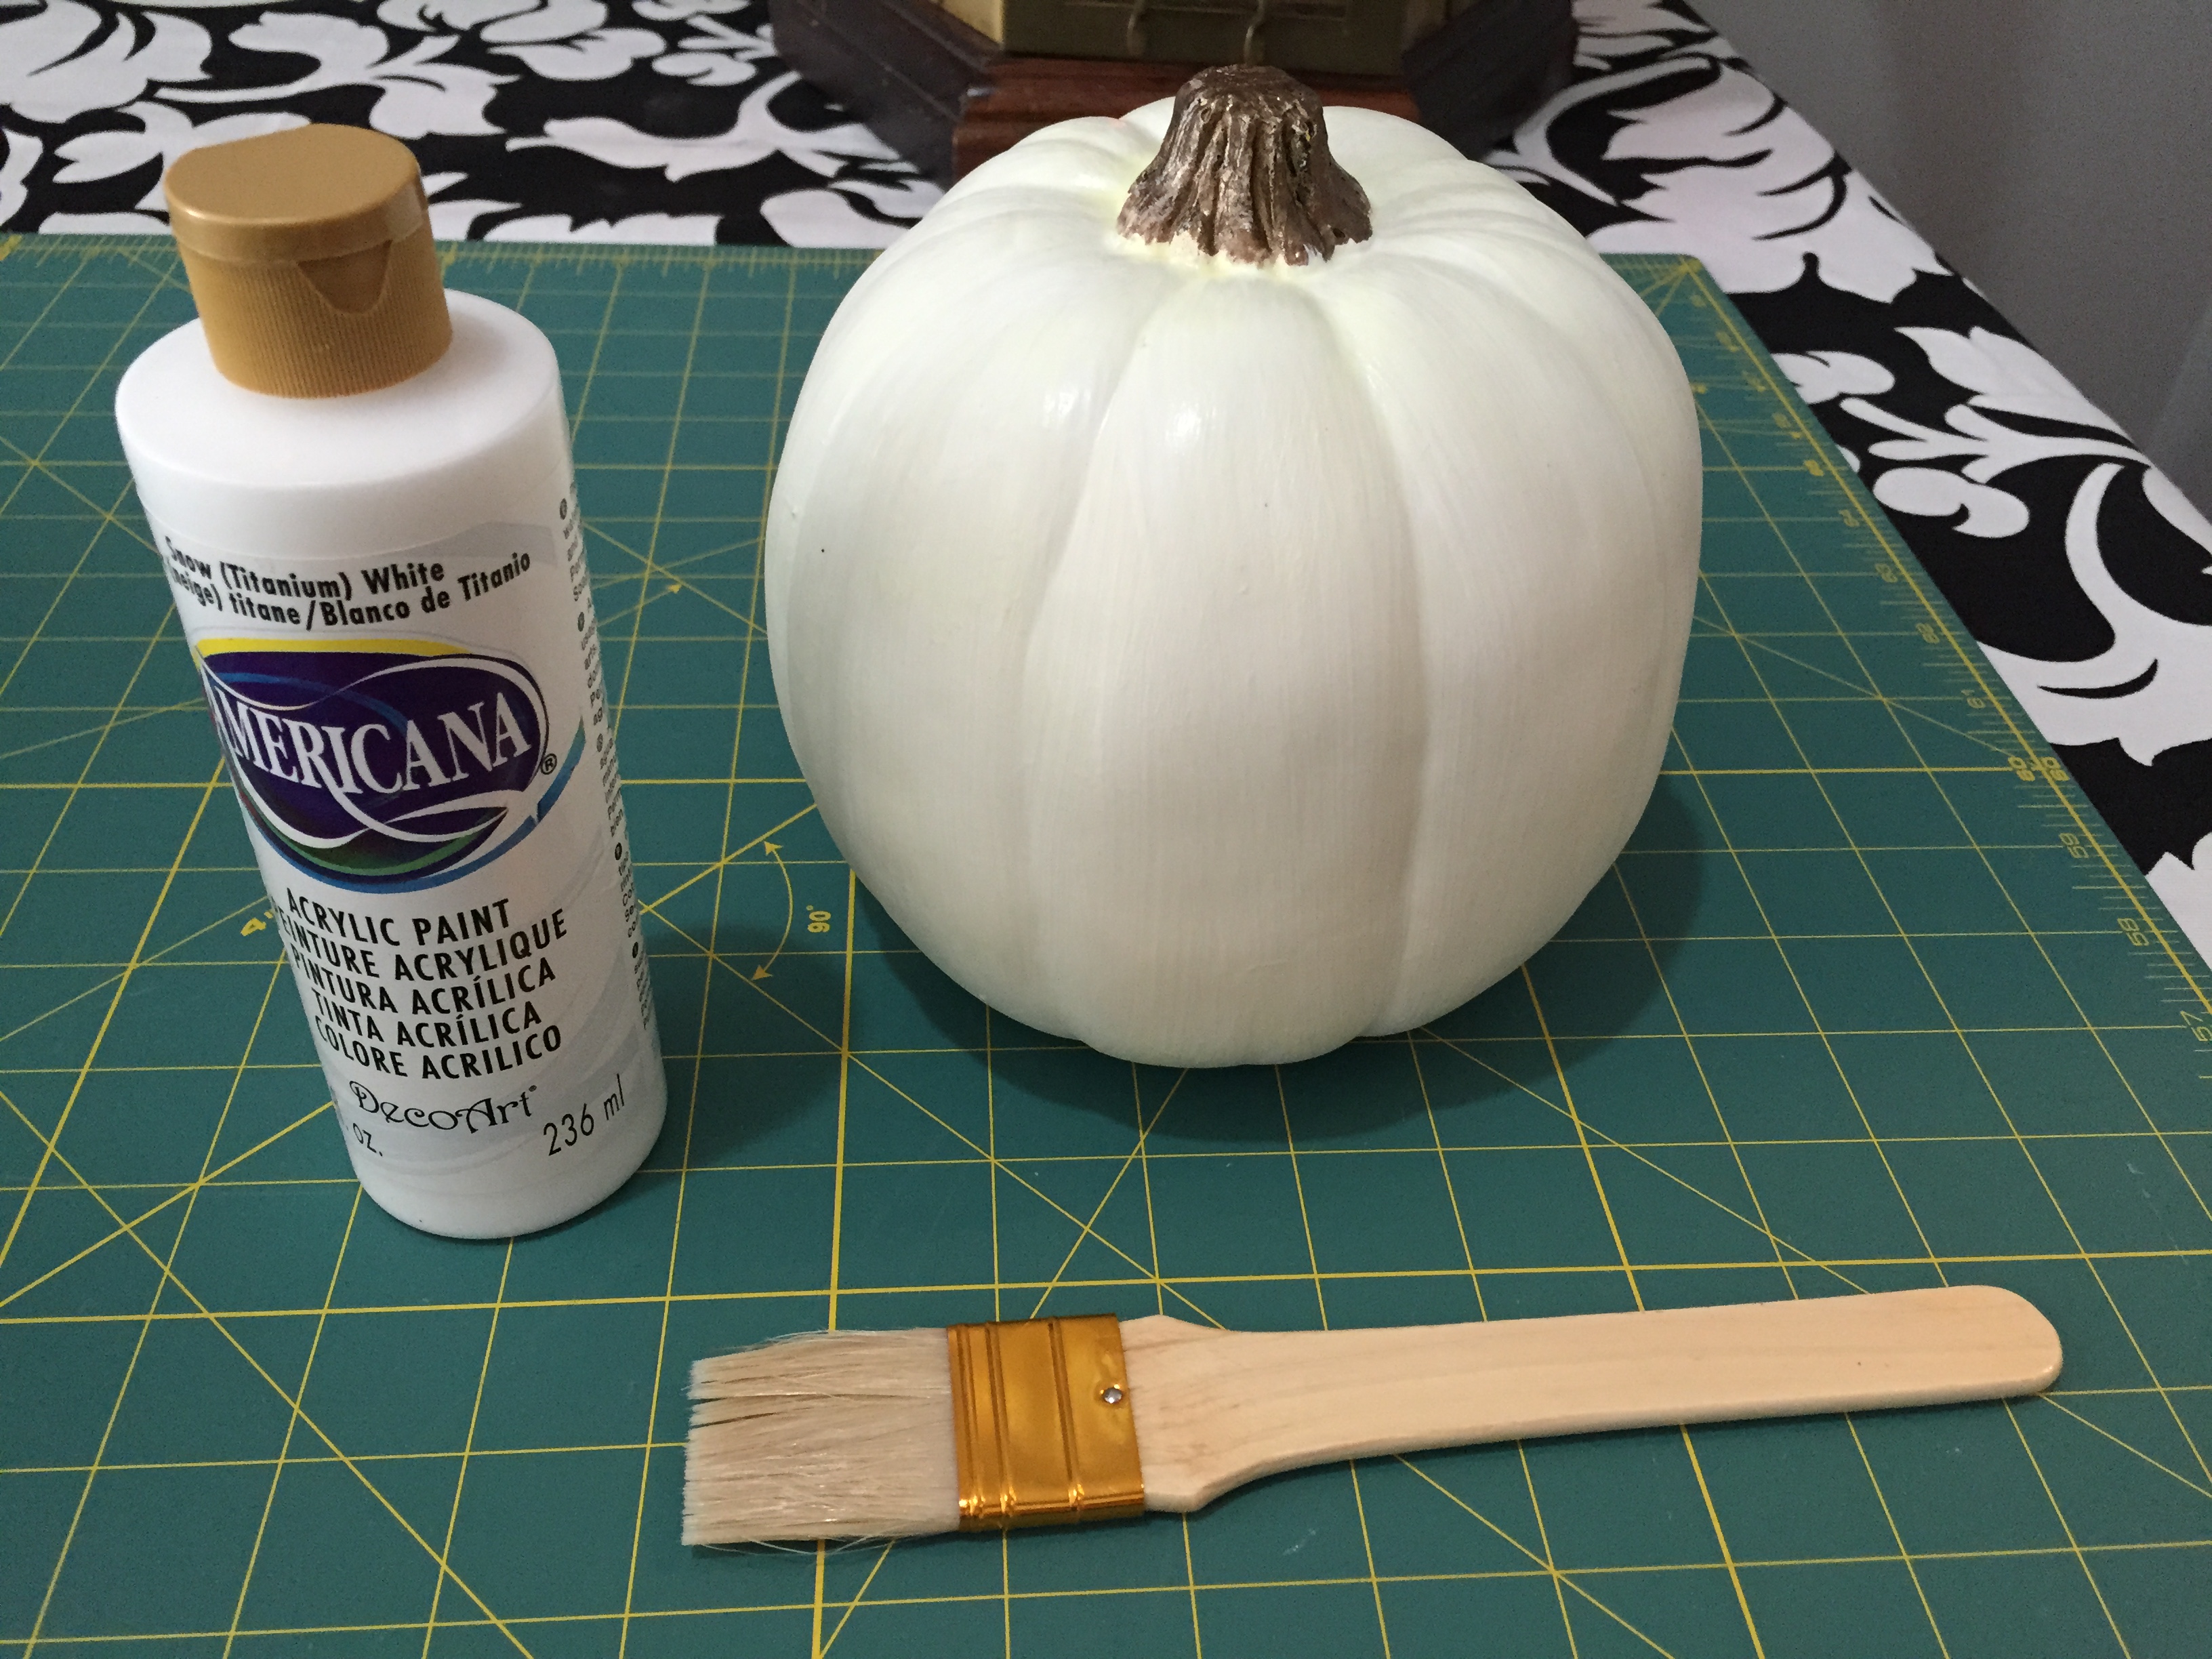
1 – 2oz. container American White white acrylic paint. Available at Michael’s.
1 – 2oz. container of bronze colored metallic, acrylic paint. You only need a small amount. We used Elegant Finish Metallic Paint in Rich Espresso available at Joann’s.
1 – 1″ to 2″ Bristle Paint Brush. Available at Michael’s.
1 – 6oz. Container of Martha Stewart Glow-in-th-Dark paint. Available at Michael’s.
1 – 9′ Black Leave Halloween Garland. Similar styles available at Linens ‘N Things.
1 – 5″ to 6″ letter “B”. Available at Michael’s.
2 – 4″ letter “O’s”. Available at Michael’s.
1 – Spool of Black, Grosgrain Ribbon. Available at Michael’s.
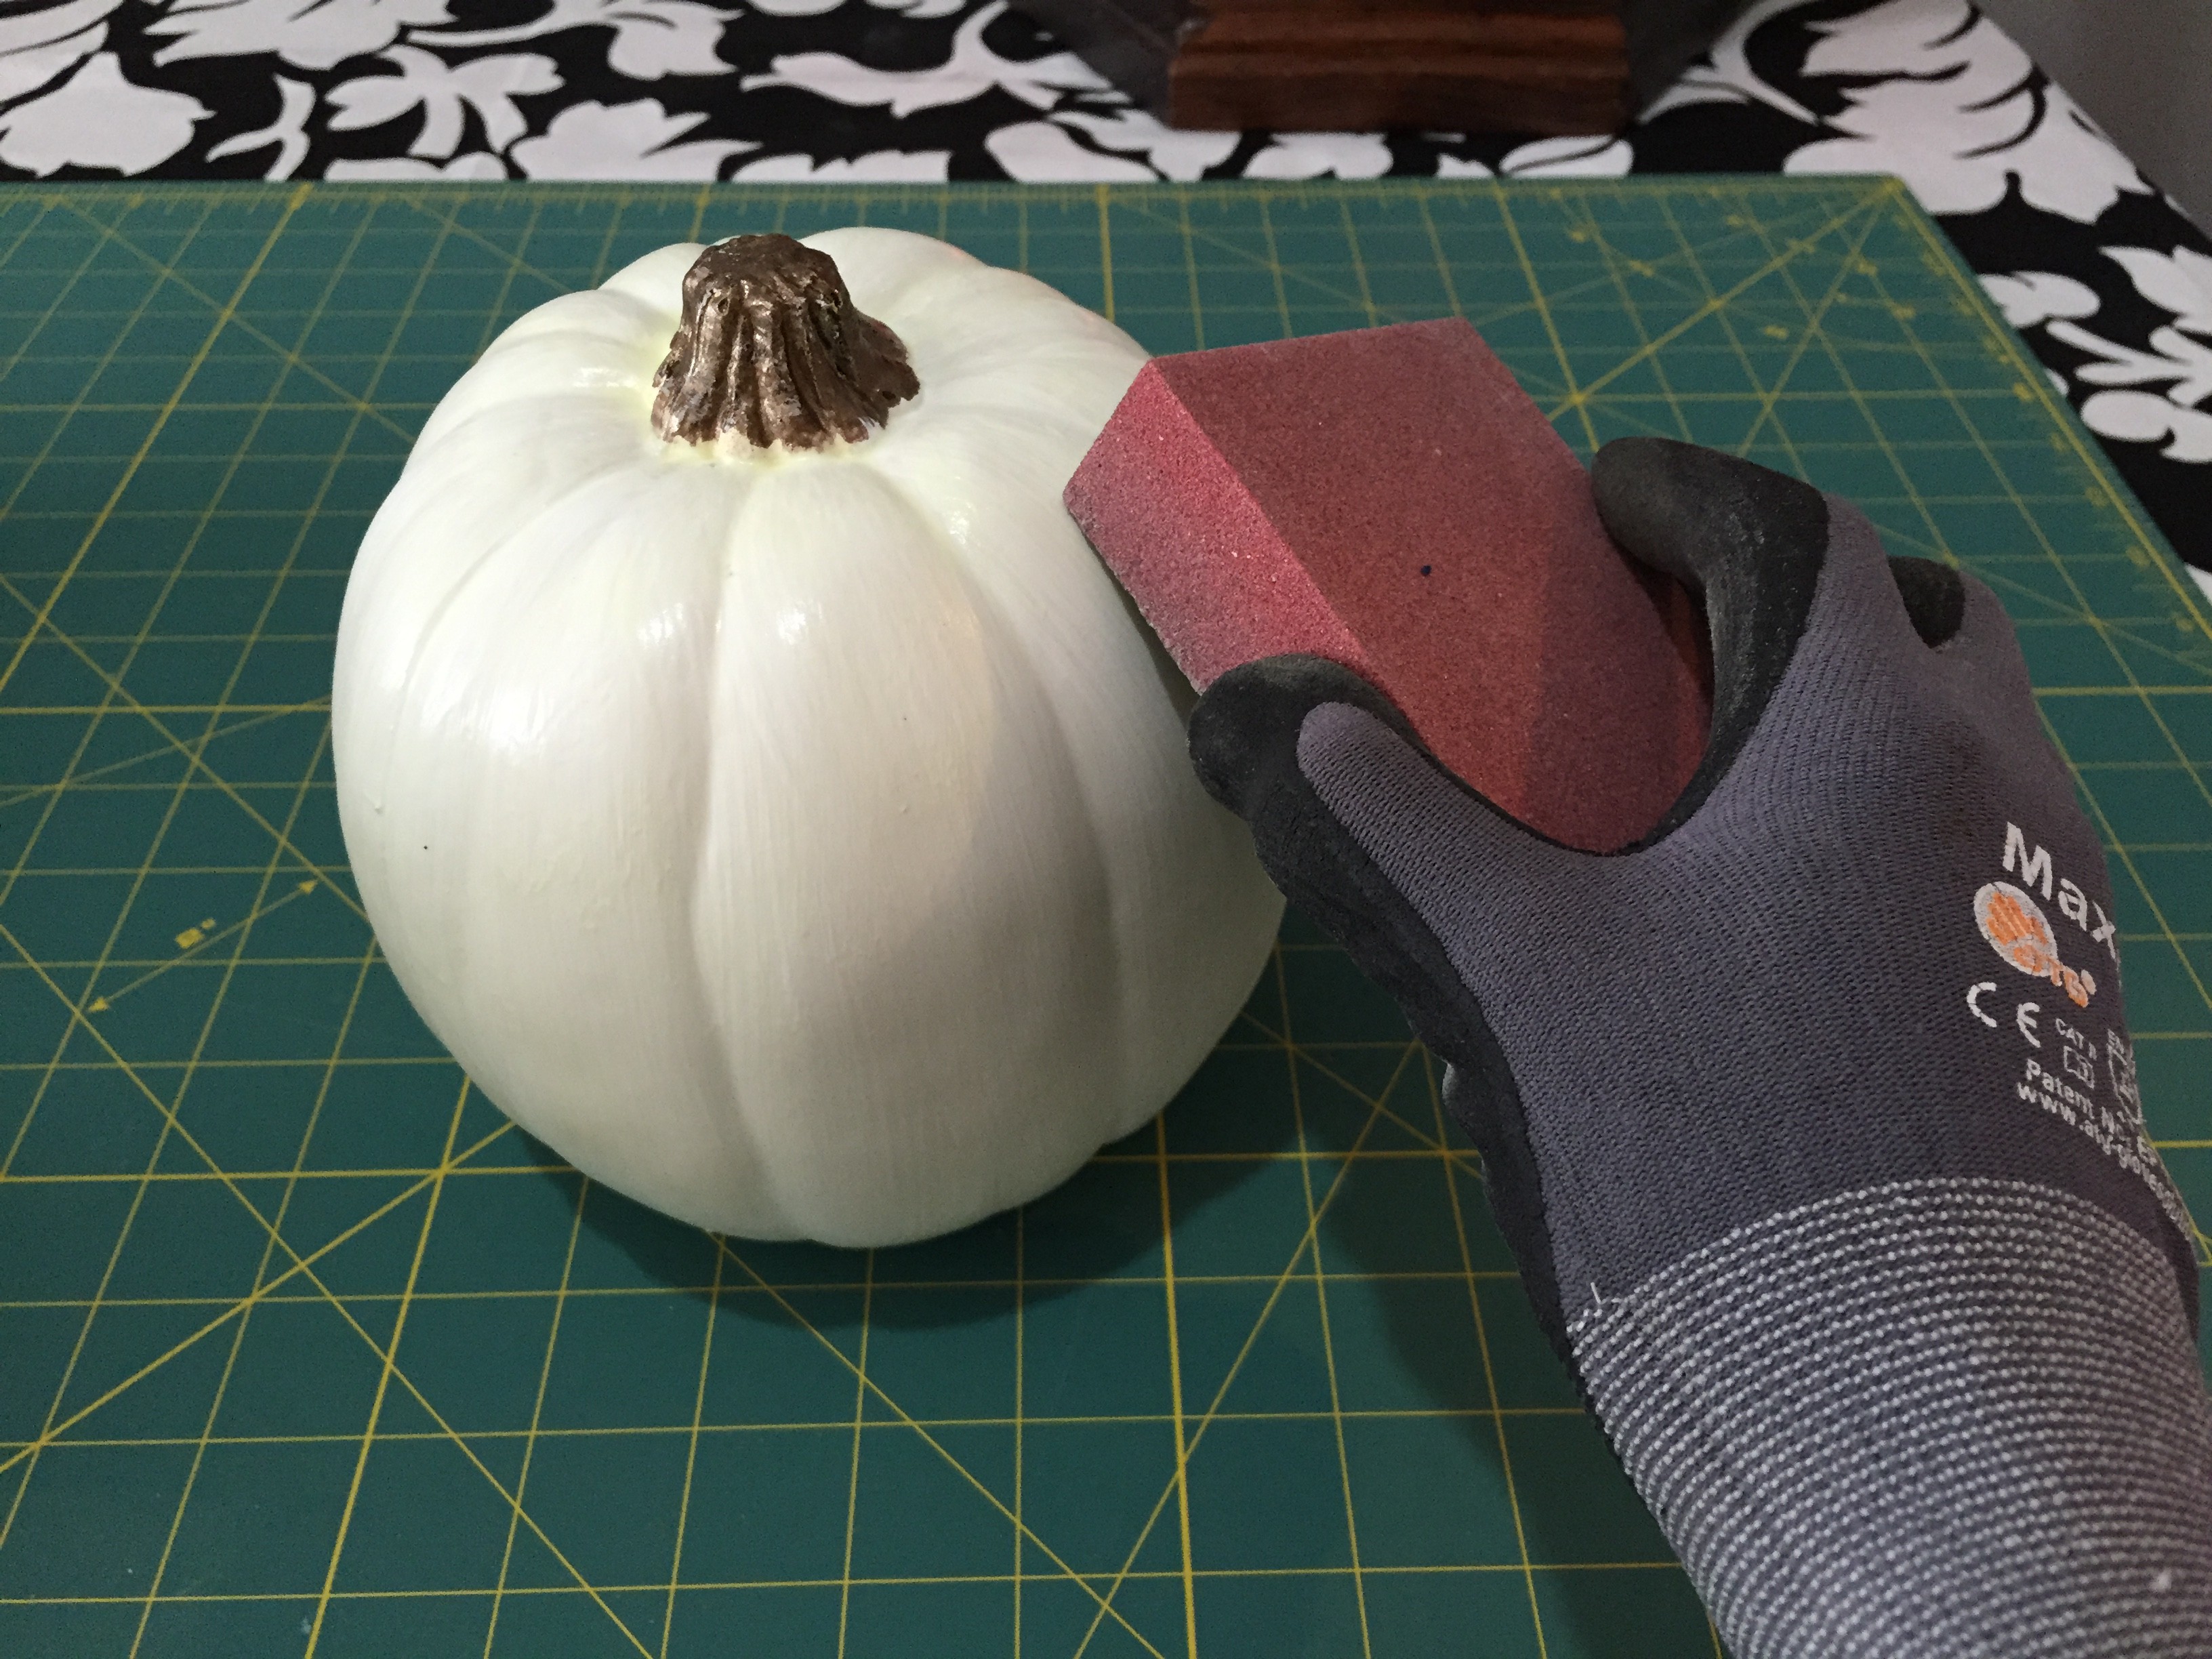
Step 1: Lightly sand your pumpkins and yes, wear gloves. This is a messy process not to mention, the feel of sand paper on bare hands is awful.
Step 2: Touch up your pumpkin with white, acrylic paint. One layer is plenty.
Step 3: Apply at least 3 layers of the glow-in-the-dark paint (it says 2 layers but we opted for 3 to make sure it was even). This will be the most time consuming step as you need to wait at least 2 hours in between layers. However, you can paint your letters and embellish your garland while the paint dries.

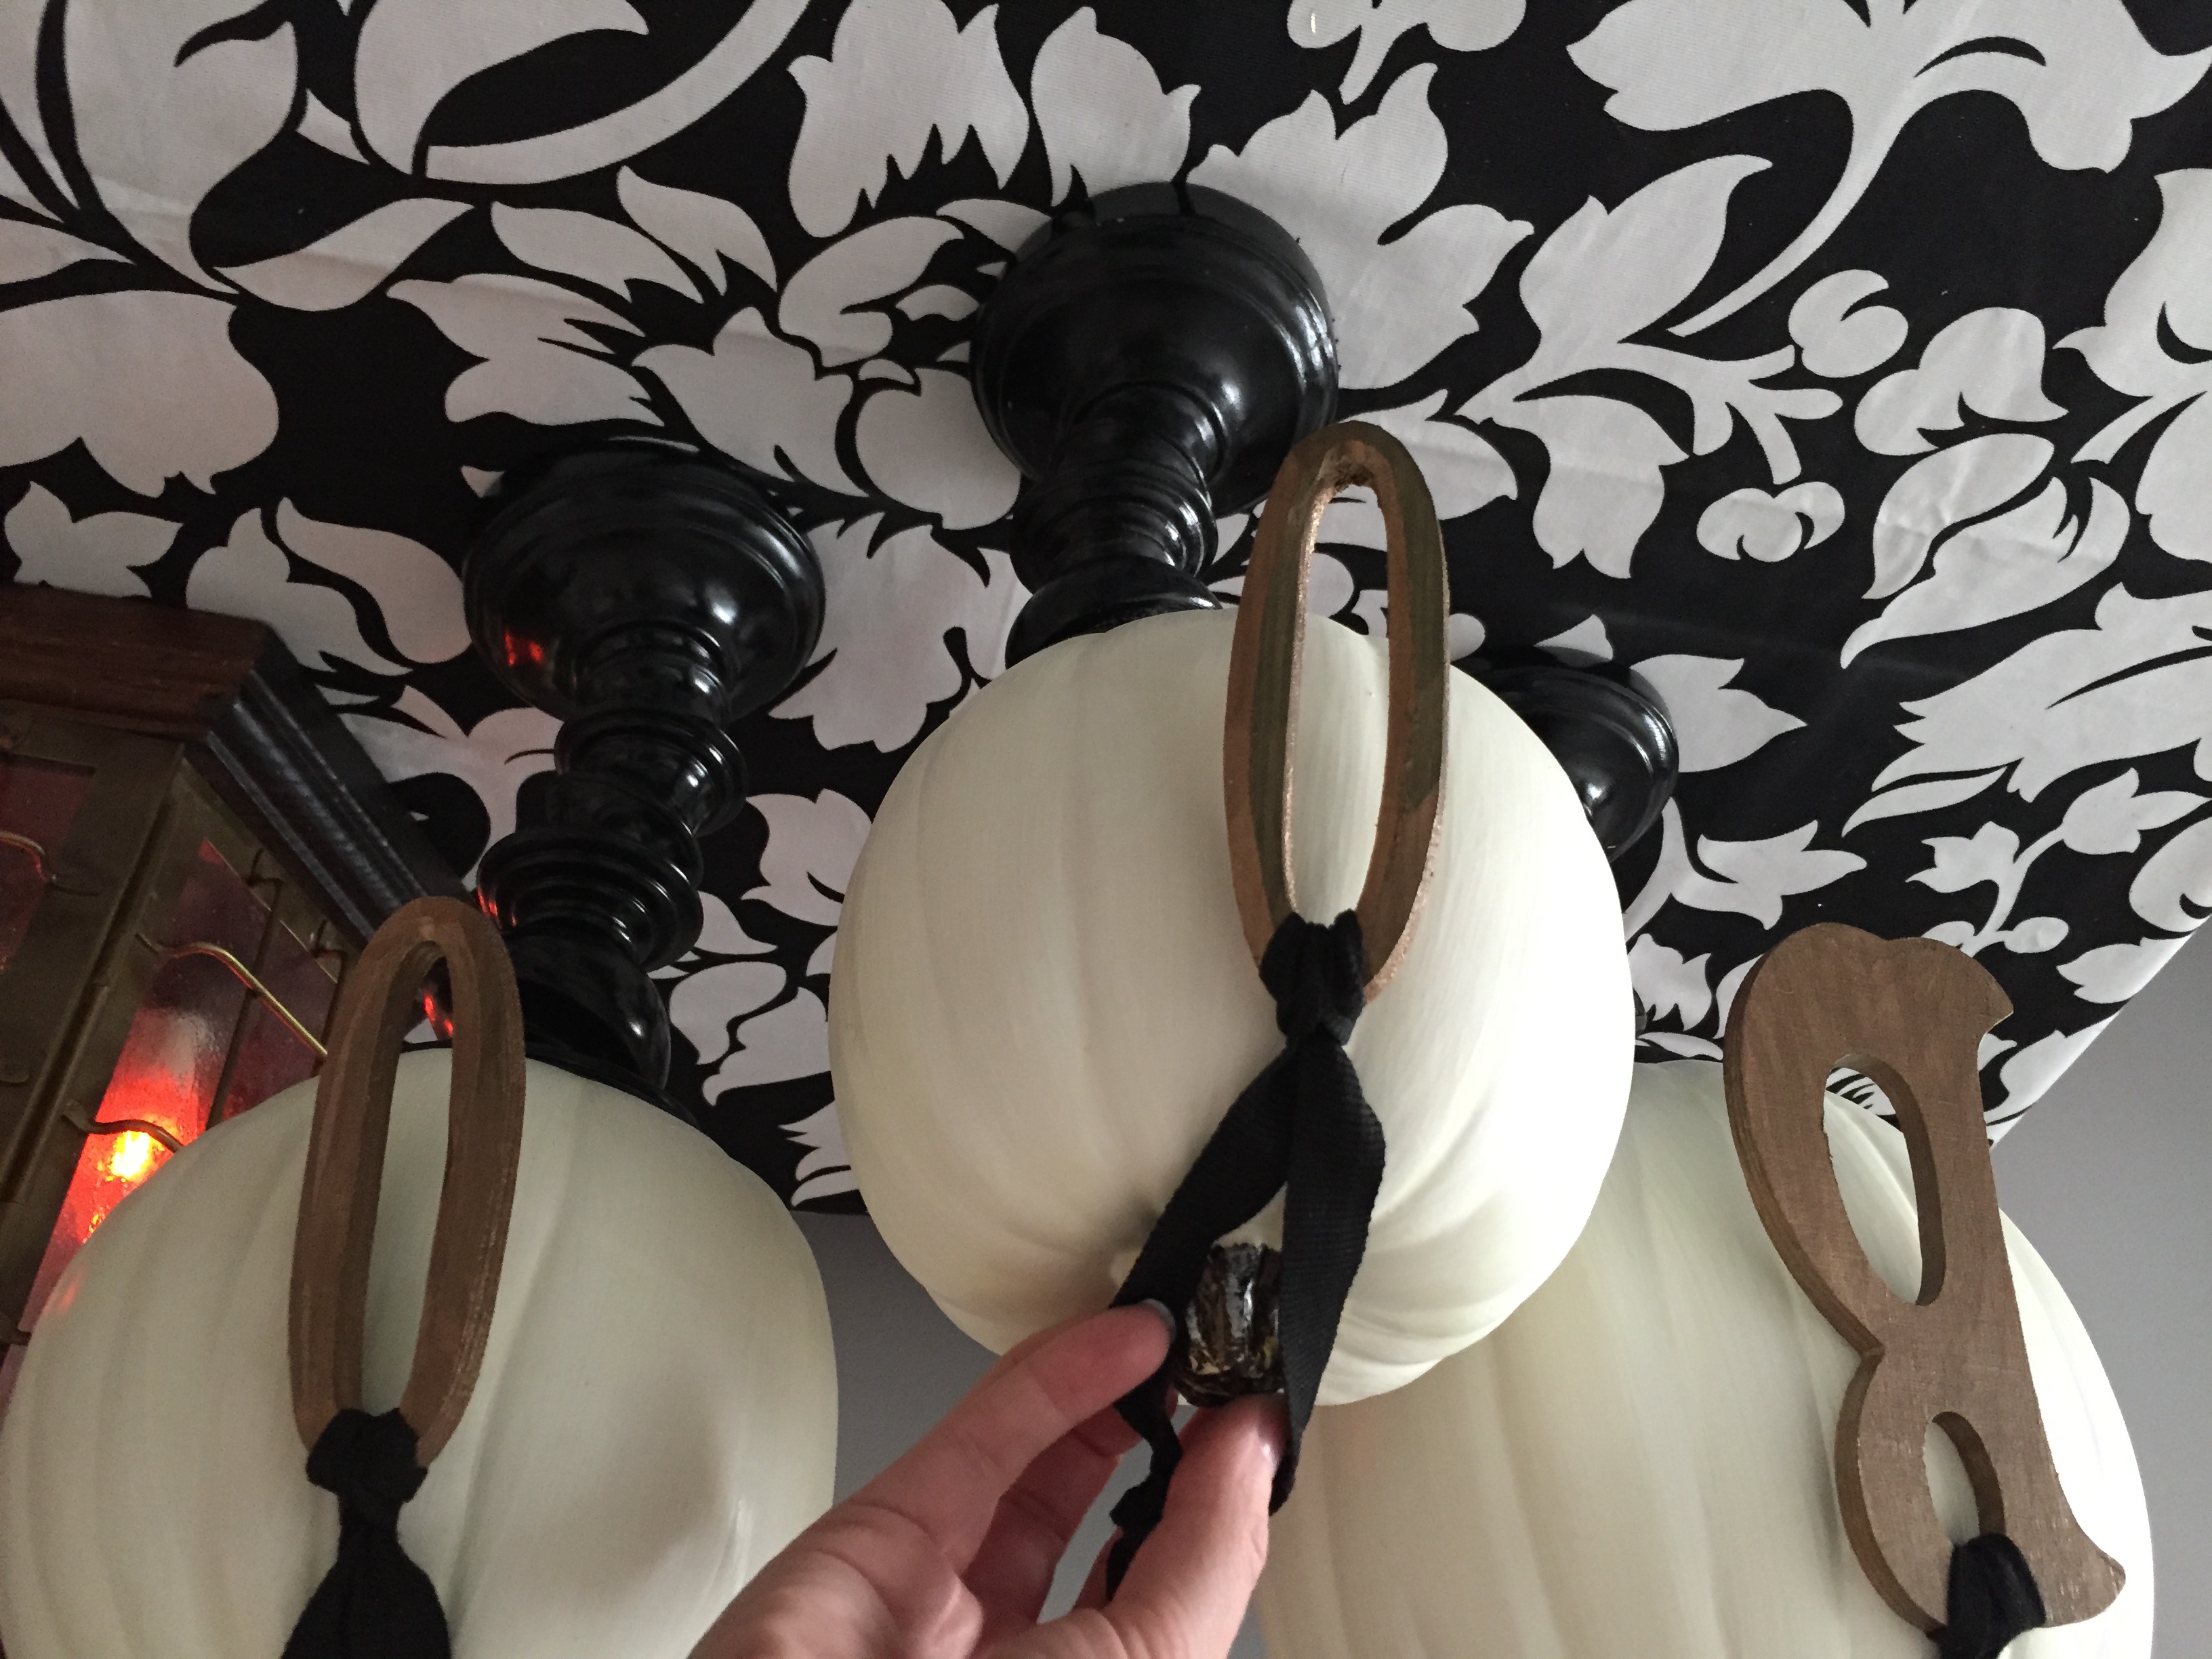
Step 4: In between glow-in-the-dark paint layers, paint your unfinished ‘B-O-O’ letters with metallic paint. Two layers should do the trick and after the paint dries, attach your ribbons to the letters. For this sized letter “B” our ribbon was cut to 18″ and 12″ for each “O.”

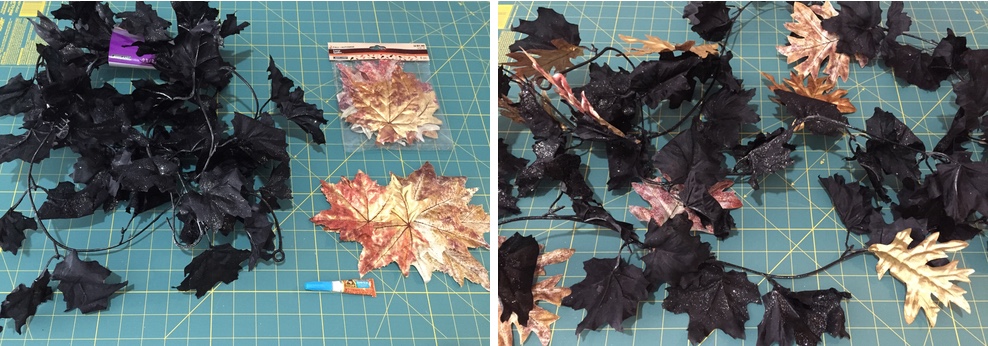
Step 5: Most likely, the glow-in-the-dark paint is still not ready for the next coat. Use this time to embellish your black leaf garland. We bought two, eight count packages of loose autumn colored leaves and attached them to black leaves on the garland using Gorilla Glue. They are spaced about 6″ apart and in total we used 12 leaves.
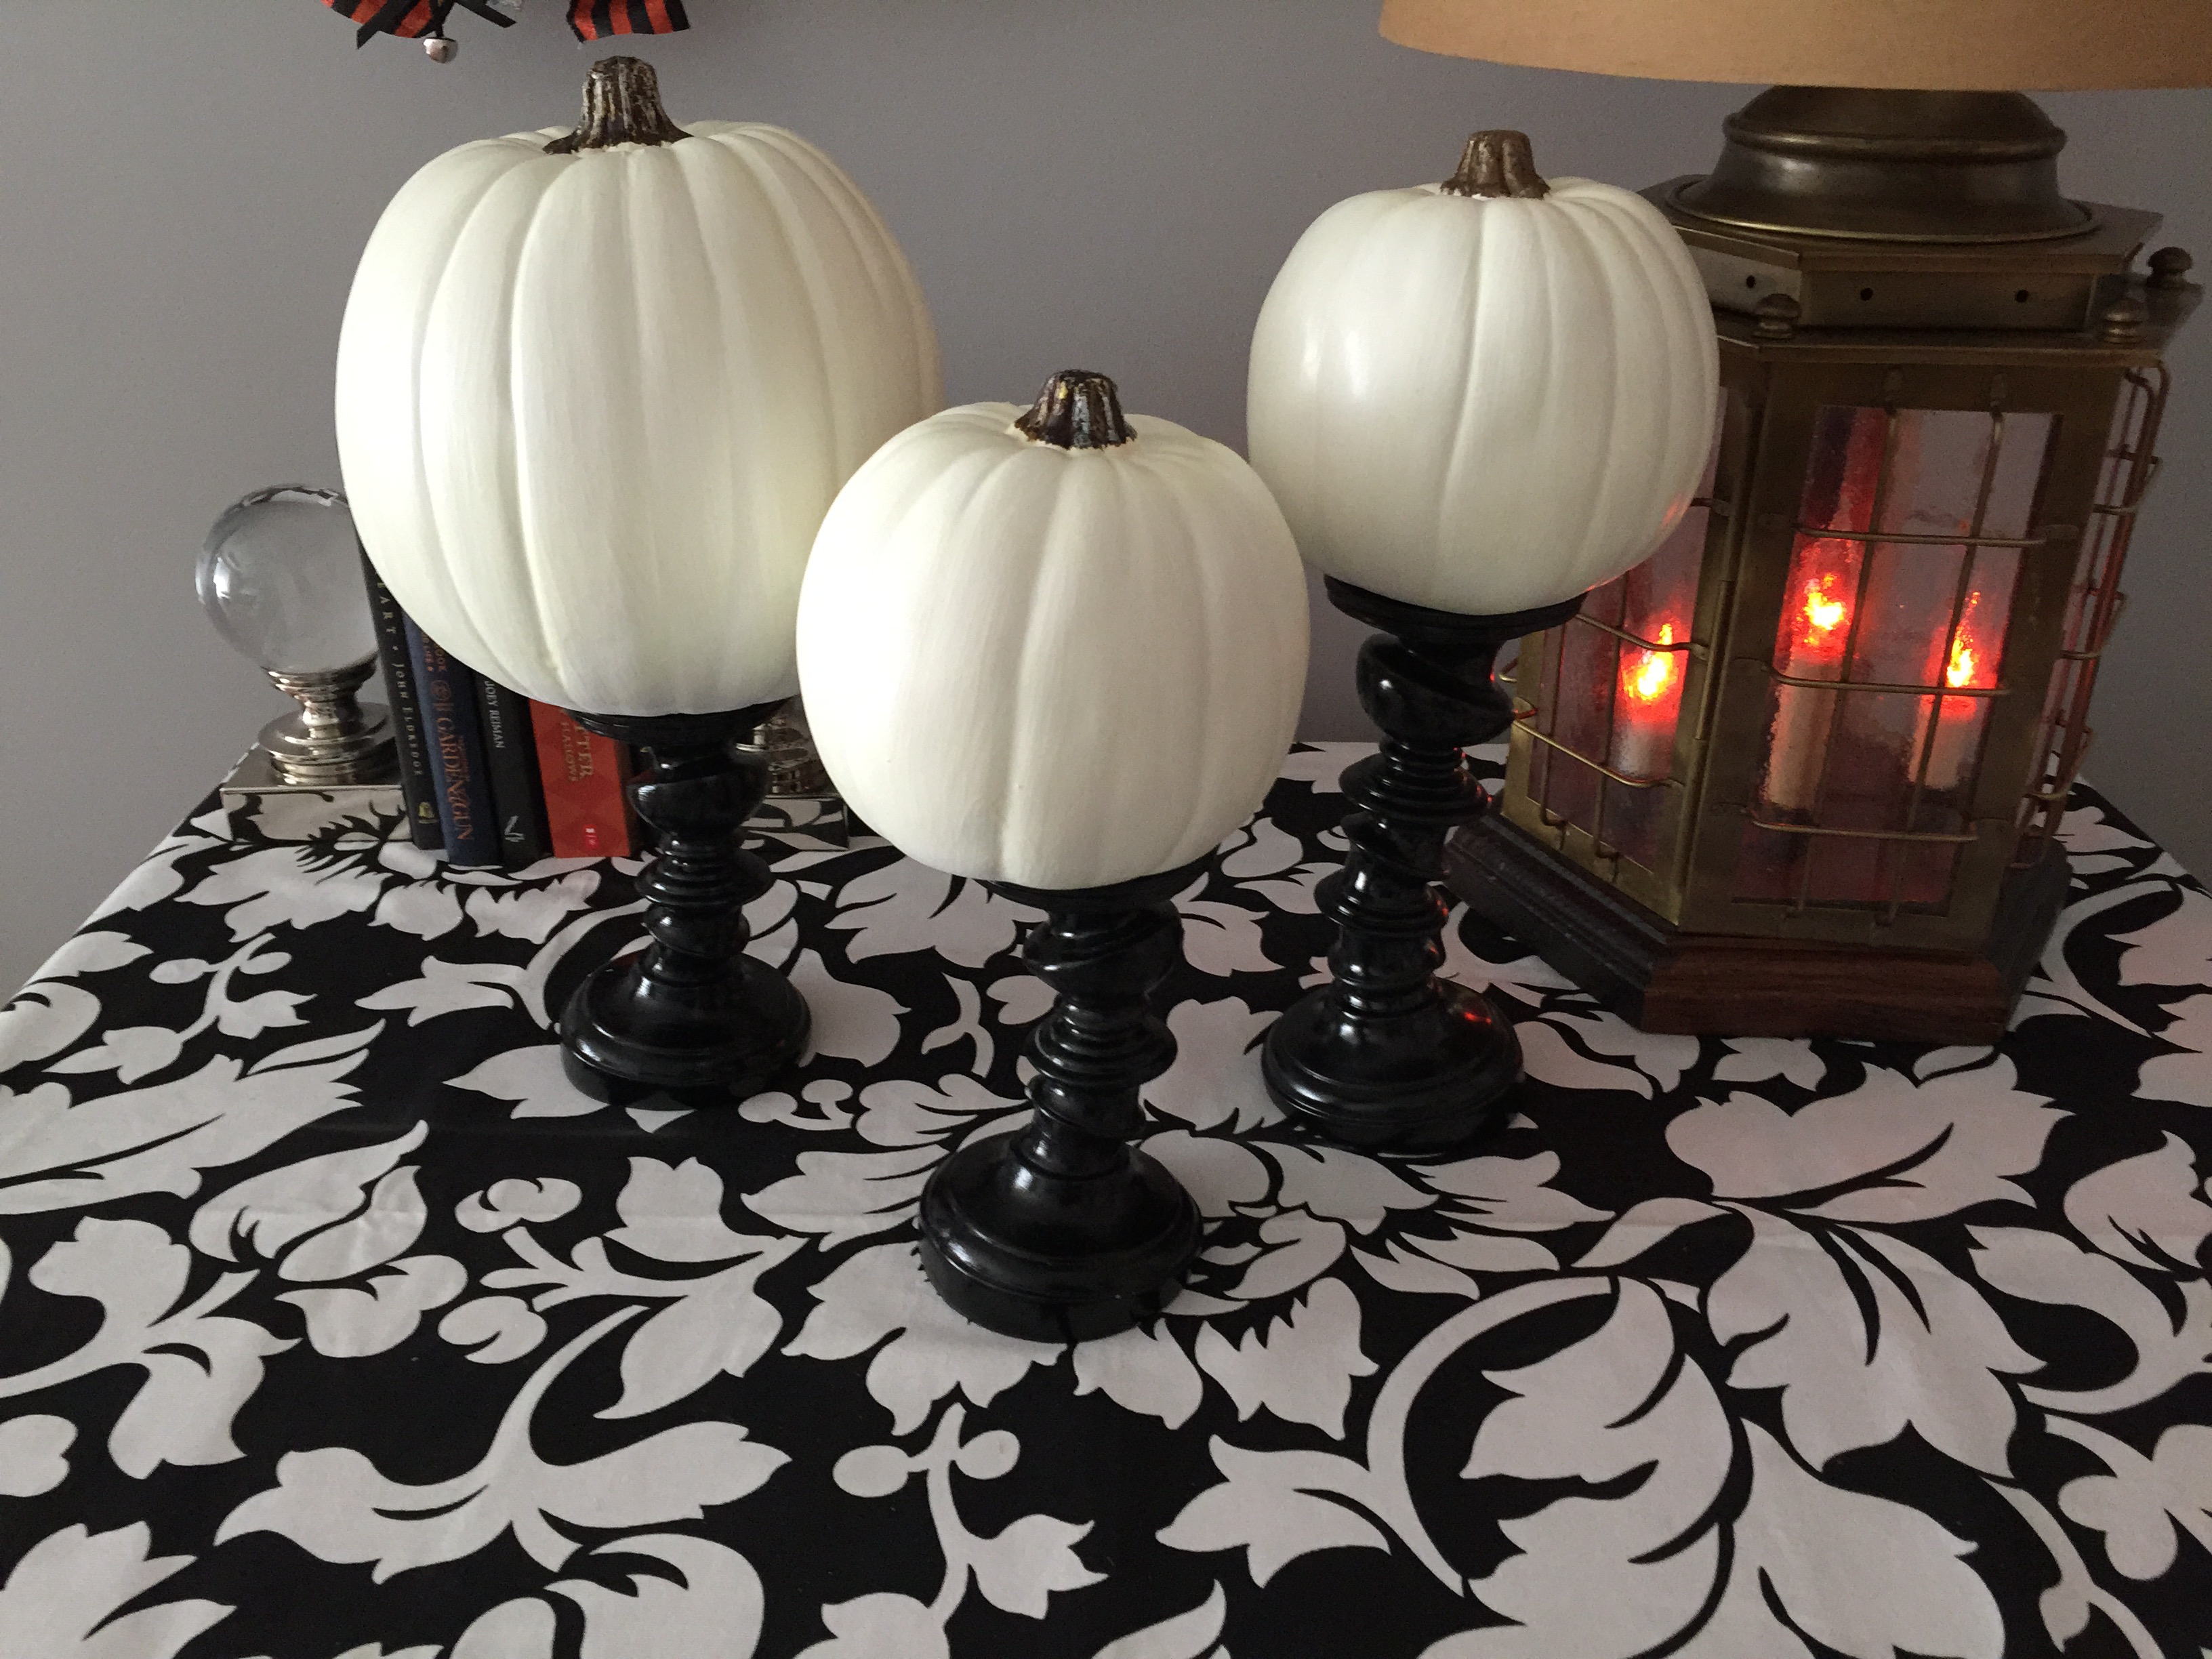
Step 6: Now, the fun part! After all the paint dries you are ready to decorate your table. Choose a tablecloth of your choice and place the 9″ and one 6.5″ pumpkins on the smaller pillar holders. Place the other 6.5″ pumpkin on the larger pillar and place to the right. Next, hang your letters on the pumpkin stems and arrange your garland around the pillar holders. Voila!
Tip: By not permanently attaching the letters to the pumpkins you are able to use them for Autumn themed decorations all the way to Thanksgiving. Cost savings!